
Recently I took a sewing class at my local quilt store down the street in Concord, NC, We're Sew Creative. They really are sew creative and I had a lot of fun learning some basics I should have learned when I got my machine 3 years ago.
At the end of the class we did a little project to put to use our new found knowledge of our sewing machines. It was a very simple and functional pocket tissue pouch. Sew 2 rectangles together, turn them out, sew up the ends, and turn them out again. OK, maybe that's a little over simplified but they really are easy and fun to make.
When I got home I made quite a few of these because I knew so many people I thought would enjoy them, a birthday, and a thank you gift. Plus I kept thinking, "OH! These fabrics will look even more cute together than the last two!"
Anyway I ending up sending one of these to my grandmother (Mother's Mother) and received a phone call today expressing how much she loved it! Not only did she love it but she thought it would be the perfect Christmas gift for her 7 friends that she eats dinner with every night. I'm flattered that she thinks so and, of course, happy to make them for her.
If you know anything about me, I'm always trying to think of more complicated ways to do easy things and that is what brings me to this blog post.
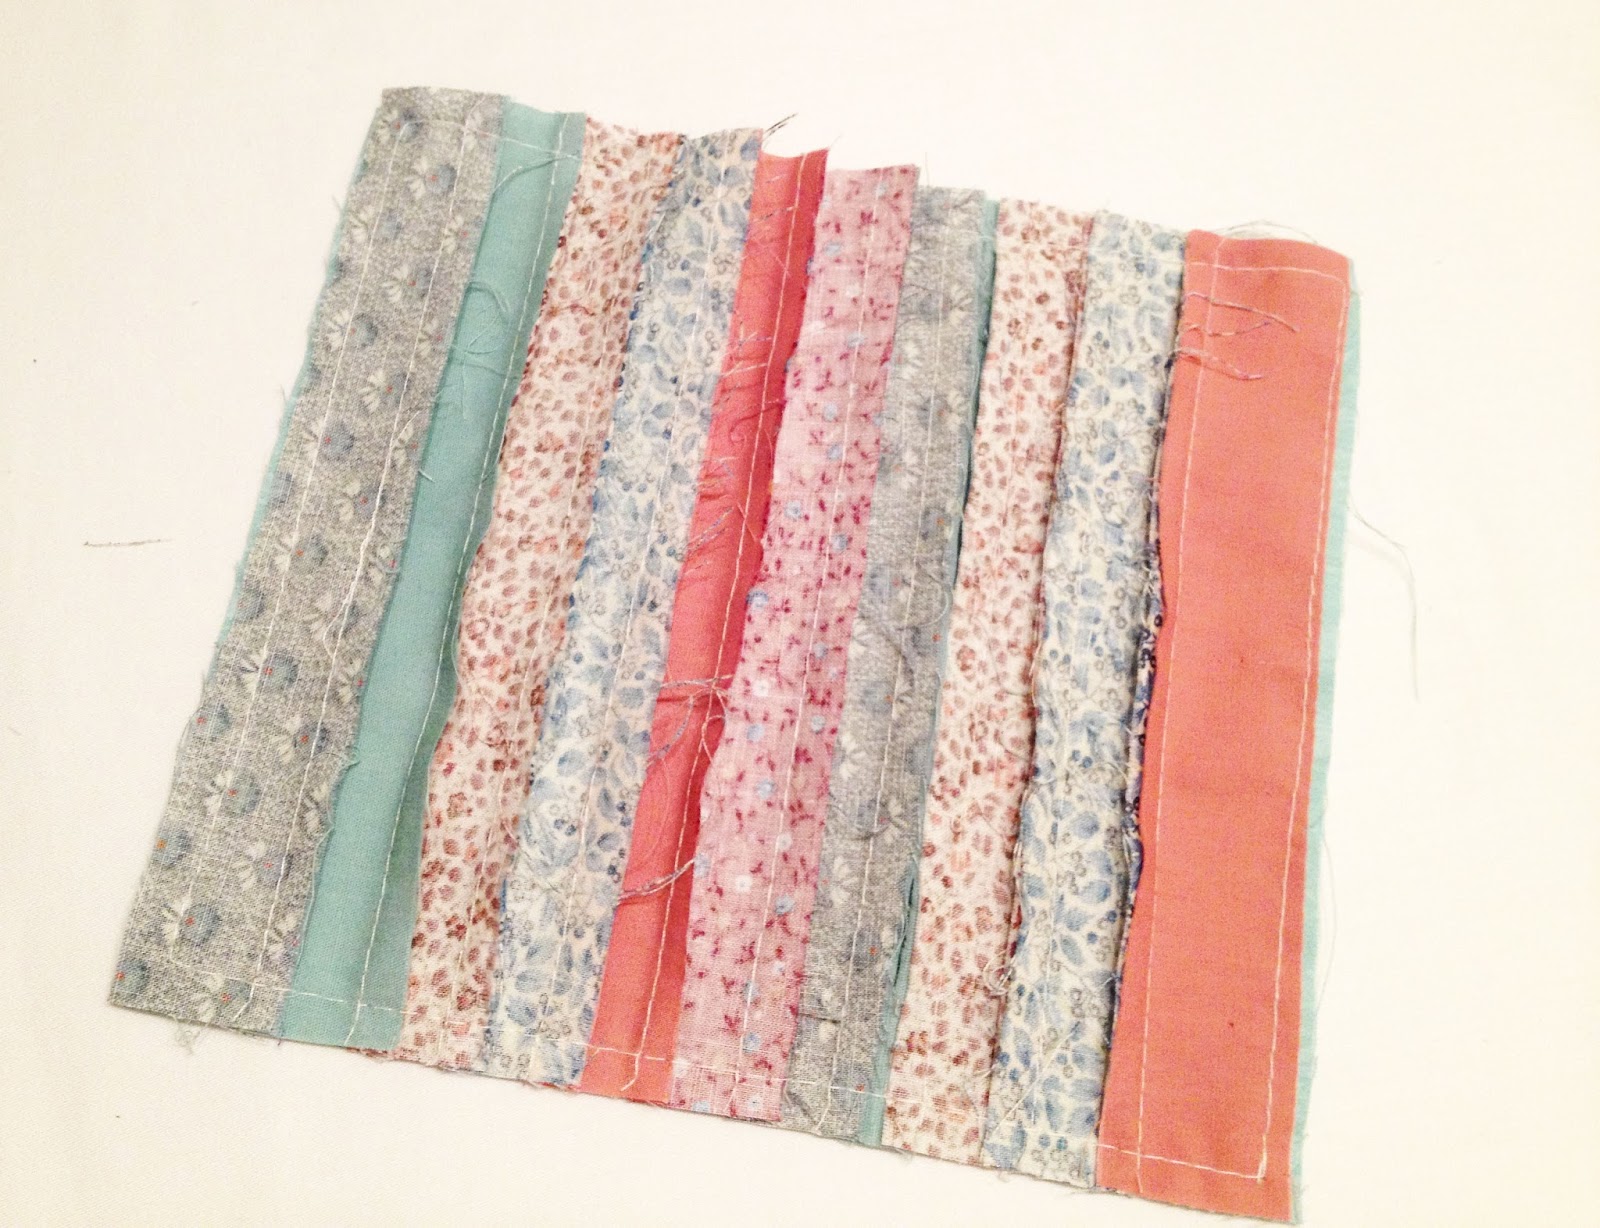
 My Grandmother (Dad's Mother) gifted me a nice stash of fabric that I have been finding use for all sorts of things! Part of this stash includes these strips of fabric (presumably for quilt binding) in all sorts of cute prints and colors. All I can think about when I see these strips is how hard she must have worked to cut them all so I feel that I must use them!
Sewing Strips Together

- Always sew right sides together.
- Line up raw edges as you go, check often.
- Press the seam after adding each strip. (I press the back and then the front as well for each strip)

And here is a close up of the pretty patterns!

Cutting Rectangles
Next I laid the sewn together strips out on the cutting mat to do some measuring. Lucky me! My strips all put together measured 22" long and I needed 21". After I got over the awe of my good craft fortune, I cut my long rectangle into three 7x7.5" rectangles. You use one rectangle per pouch, the other 2 rectangles are for future pouches.


Next I chose and cut the fabric that would be my inside liner.

Sewing the Pouch
Then I sewed them, right sides together, leaving about a 3 inch hole so that I could turn them out. The hardest part about this was making sure all my little seam folds would lay flat once they were sewn, you just need to pay extra special attention to this so that it won't be lumpy when you are through.
Then I turned it right side out and pressed all the seams.

Next you do a little special fold and sew up the two short ends. The end result, once you turn it out one more time, is a pocket tissue pouch! I think the strips turned out very cute. Now just 6 more to make. :)


-Michelle
UPDATE===============================================
Hello again,
Just wanted to update on this project now that I am all done! I made a total of 4 more after the three in the pattern I posted about earler. Two I did only red/pink strips and the other two I did only blue/teal strips. They came out so cute! (I have the ends of both and I'm thinking about stitching those together and seeing what happens...)
I also zig-zag stitched some brown paper bags together and printed up some labels with my information on them. :)
Here is the final product! (One of each color combination)


This is really cute. Thanks for posting.
ReplyDeleteThanks for reading!
ReplyDelete